.svg)
.svg)
.svg)
.svg)
.svg)
By the Water Gone Restoration team · IICRC-certified restoration, Orange County
October 10, 2026
By the Water Gone Restoration team · IICRC-certified restoration, Orange County
October 10, 2026

When water floods into your Orange County home, the first 24 hours decide far more than how wet your floors get. They decide how strong your insurance claim will be. The photos you take, the readings you request, and the words you use when you call your insurer all become part of a record that an adjuster will later use to approve, reduce, or deny your payout. Knowing how to document water damage correctly, from the very first hour, is one of the most valuable things a homeowner can do.
The problem is that most people are focused on stopping the water and salvaging belongings, not on building a claim file, and understandably so. But the two go hand in hand. A burst pipe or an overflowing appliance is a genuine emergency, and in the middle of one, thinking like an insurance adjuster is the last thing on anyone’s mind. Yet the homeowners who come through these events with full settlements are almost always the ones who documented carefully in those first hours, or who called a restoration company that did it for them.
At Water Gone Restoration, we treat every job as an emergency and an insurance claim at the same time, because the two truly are inseparable. This guide walks through exactly what to capture in the first 24 hours: the initial photo and video documentation, the moisture readings to request, what to say (and not say) to your insurer, how to preserve damaged materials as evidence, and the simple digital folder structure that holds up when a claim is disputed. None of it is complicated, but all of it matters, and most of it can only be done once.
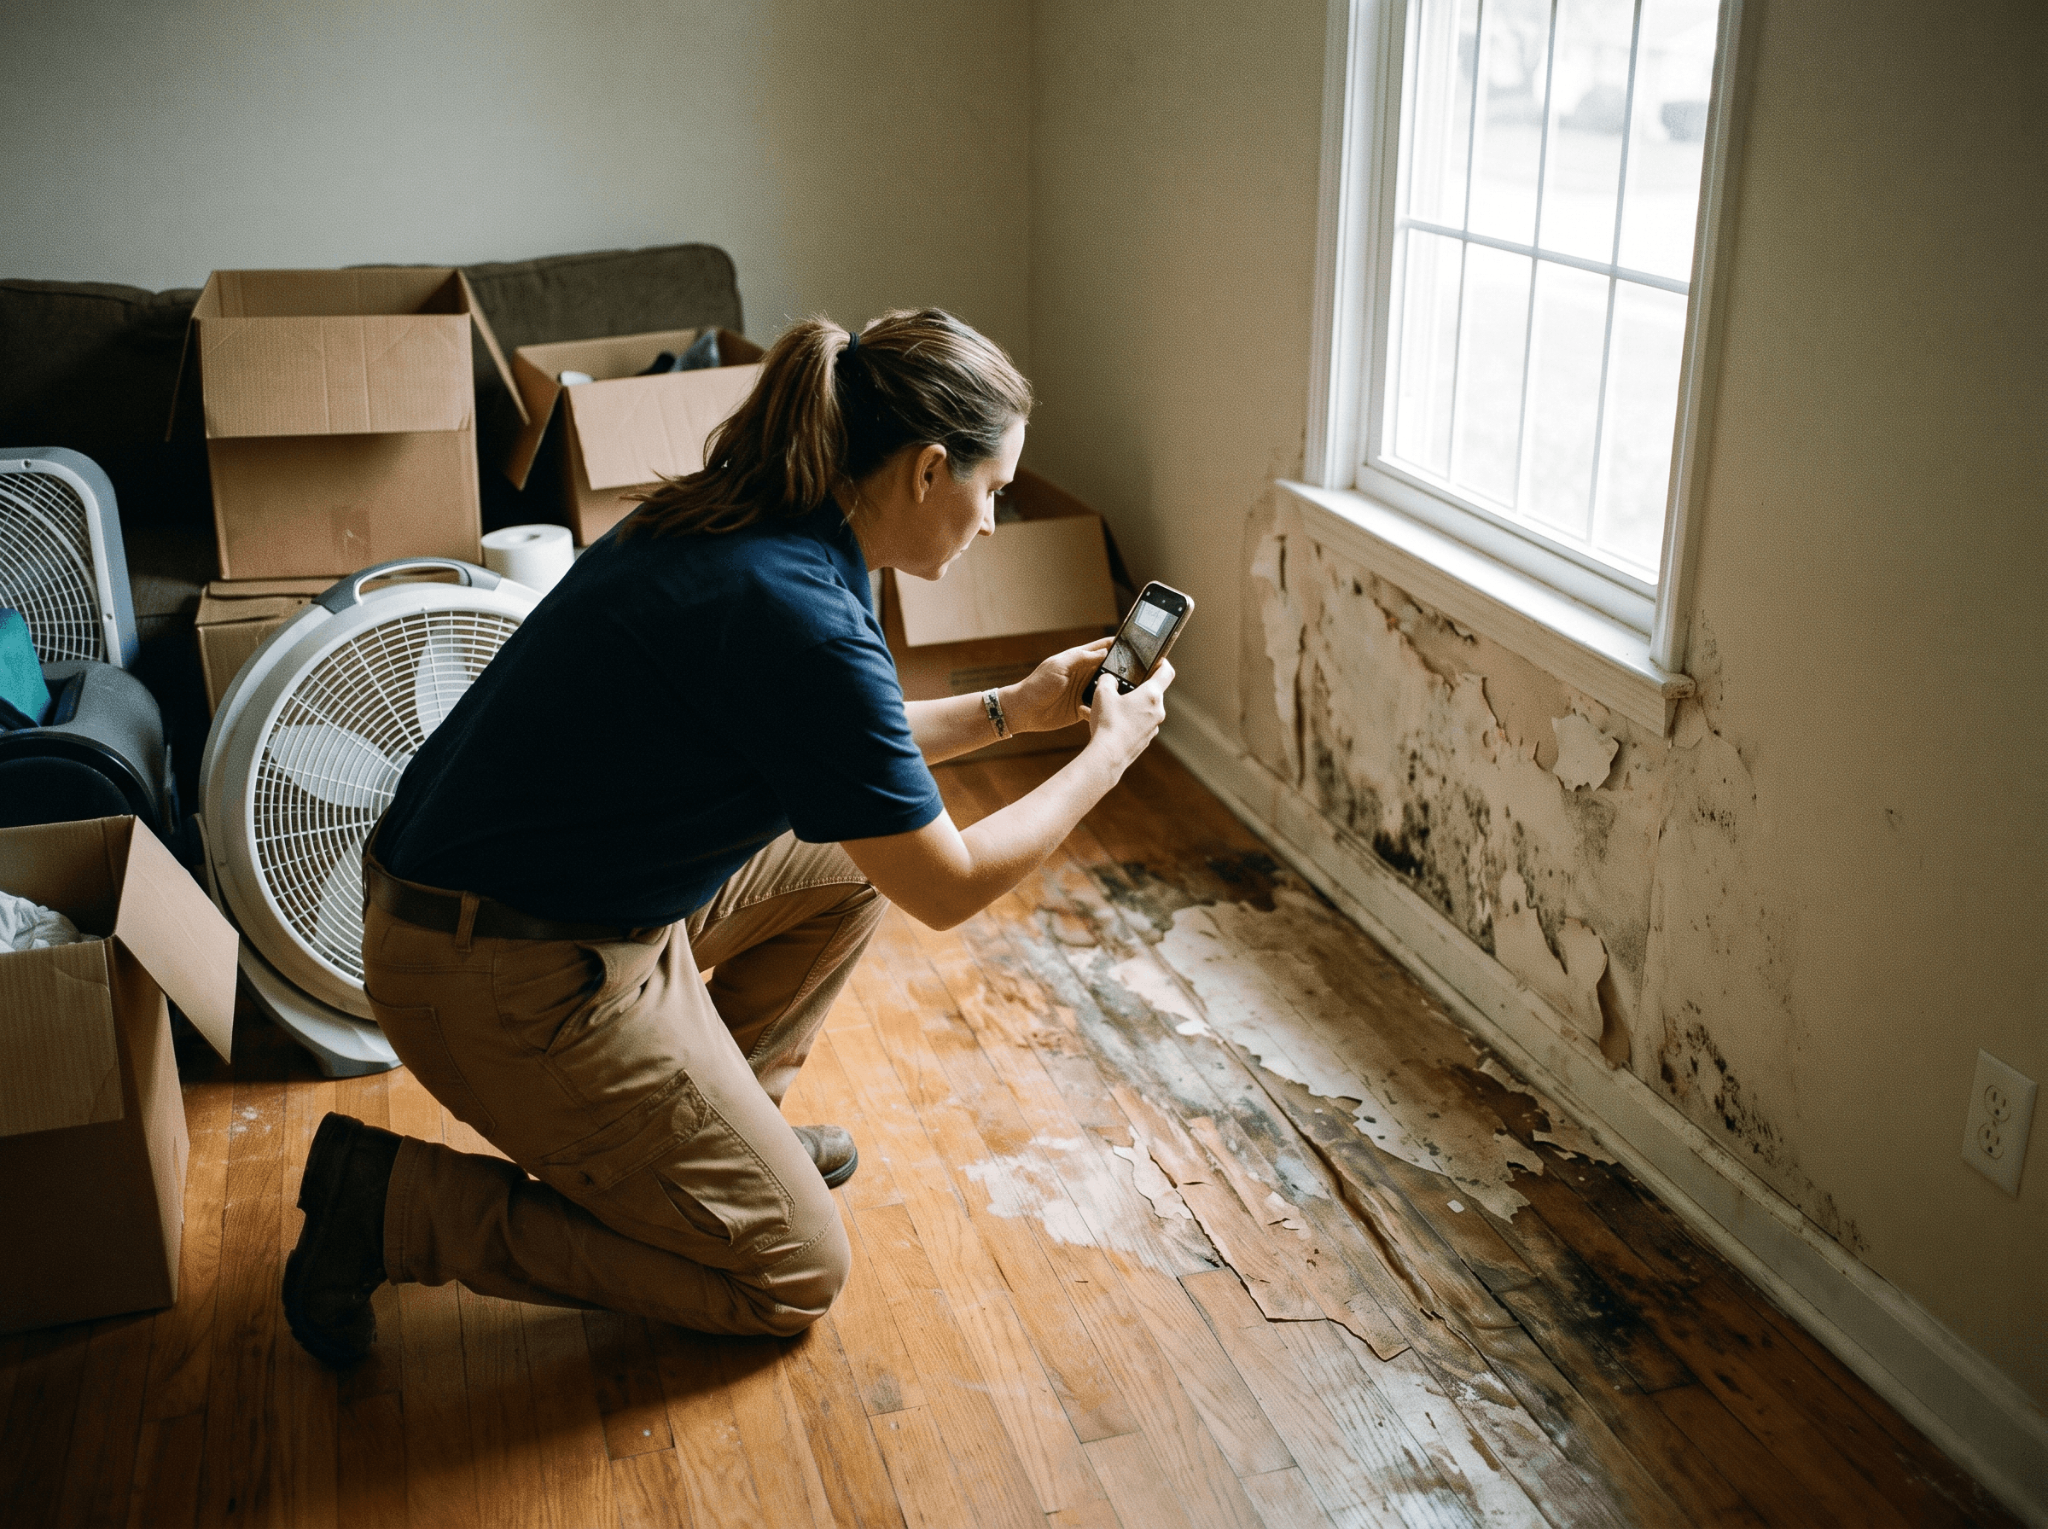
Before anyone starts mopping, extracting, or moving furniture, the single most important thing you can do is document the scene as you found it. Water damage evidence disappears fast once cleanup begins, and an adjuster can only pay for damage they can see. The first hour is about creating a complete visual record while the loss is still fresh and untouched.
Work methodically through every affected room. Take wide shots that establish the full scope of each space, then move in for close-ups of specific damage: soaked carpet, swelling baseboards, stained drywall, warped flooring, and anything that shows how far the water traveled. Capture the source of the water too, whether it is a burst supply line, an overflowing appliance, or a ceiling stain spreading from above. These pre-mitigation images are the backbone of your claim.
Video adds a dimension that photos alone can miss. A slow walk-through narrating what you are seeing gives your adjuster context: the sound of dripping, the visible standing water, the rooms connected to the loss. Together, timestamped photos and video establish an honest, thorough baseline that is very hard to dispute later.
Beyond the obvious damage, photograph the things people overlook in the moment: the model and serial number on a failed water heater, the burst hose behind a washing machine, the water line on a wall that shows how high it rose, and any personal property that was affected. Each of these details can matter to the personal-property or equipment portion of your claim, and none of them can be recreated once the item is removed or the water recedes.
One caution: safety comes before any photo. If there is standing water near electrical outlets or appliances, don’t wade in to get a better shot. Shut off power to the affected area at the breaker first, and if you can’t do so safely, document from a distance and wait for professionals. No photograph is worth an injury, and a restoration crew will capture anything you couldn’t reach safely once the scene is stabilized.
Photos show surface damage, but water hides. It travels behind walls, under flooring, and into cavities where the eye can’t follow, and that hidden moisture is exactly what leads to secondary damage and mold if it isn’t found and dried. This is why moisture readings are such a critical part of documentation, and why you should expect a professional restoration crew to take them.
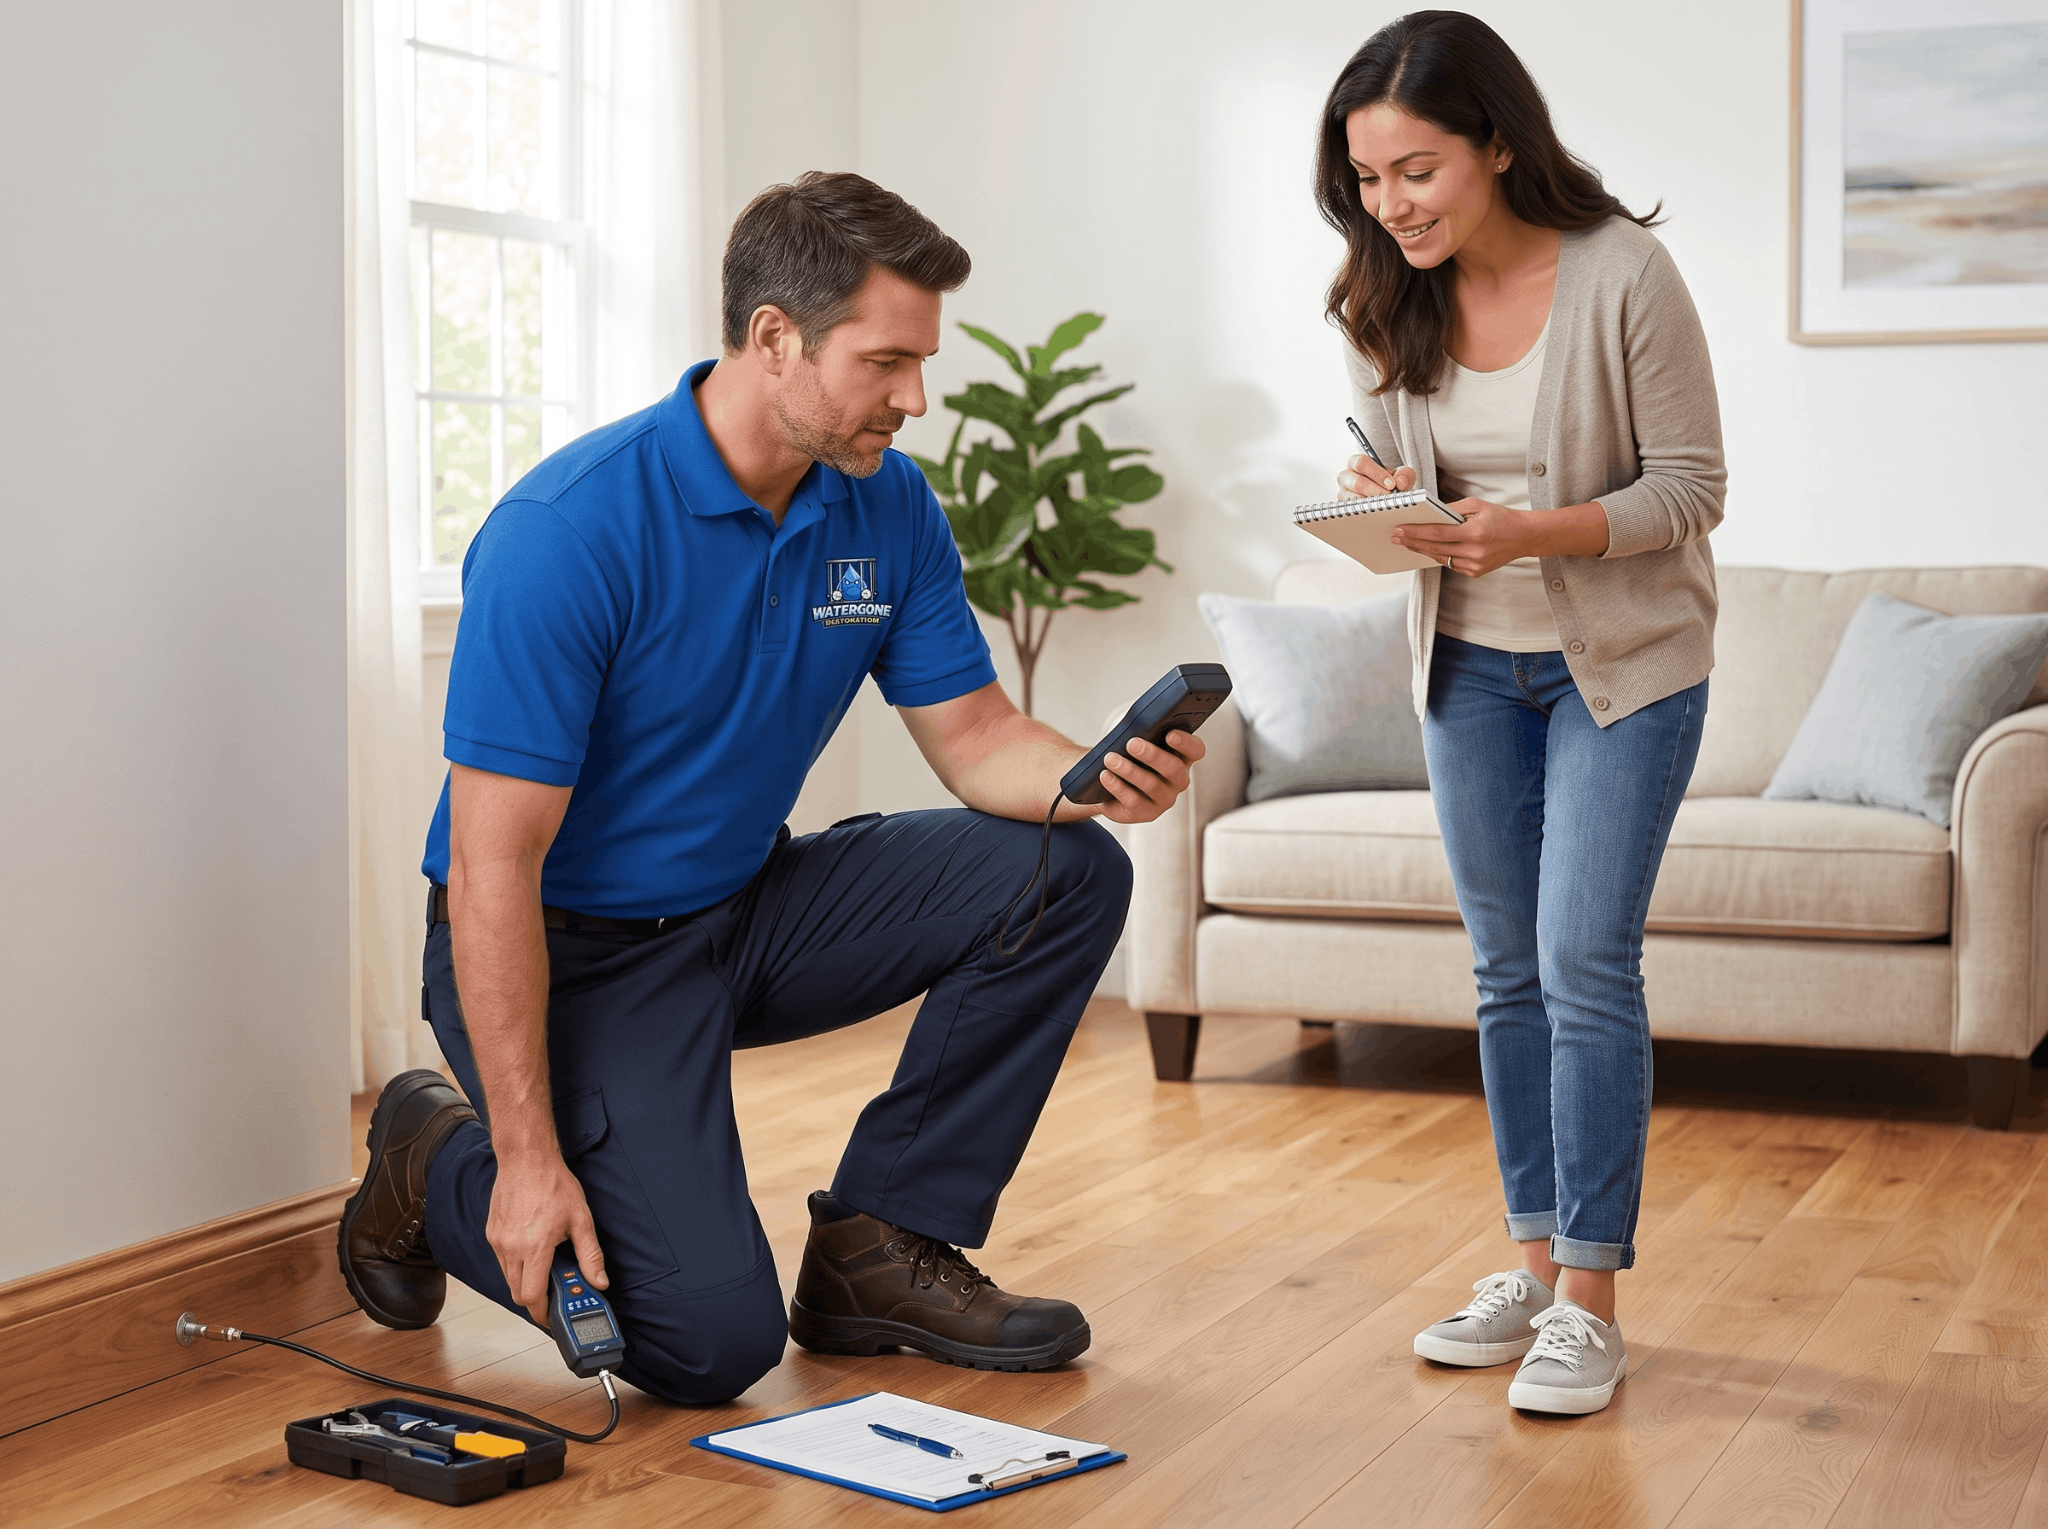
When a restoration team arrives, they use moisture meters and thermal imaging to map how far the water has actually spread, often well beyond the visibly wet areas. These readings are recorded with timestamps and specific locations, creating objective data that goes into your claim file. What you want to see are readings that establish the initial extent of the loss and then daily readings that document the drying progress over the following days.
This data does something photos can’t: it proves the invisible. When an adjuster sees a documented moisture map and daily logs, the scope of the loss is no longer a matter of opinion. It is measured, recorded, and defensible.
The phone call to your insurance company is one of the most consequential conversations in the whole process, and it happens when you are stressed and rushed, which is precisely when mistakes get made. A few careful habits protect your claim before it even begins.
Stick to the facts. Describe what happened, when you discovered it, and the immediate steps you took to stop further damage. Report the loss promptly and get a claim number. What you want to avoid is speculating about the cause, guessing at how long a leak may have been happening, or admitting to deferred maintenance, because words like “it’s been dripping for a while” can be used to trigger a gradual-leak exclusion and reduce or deny your claim.
A useful rule of thumb: report accurately, but don’t editorialize. If you don’t know how long something was happening, say so plainly rather than guessing. And consider calling your restoration company first. A crew that documents from the outset and communicates directly with your adjuster can help make sure the conversation is framed accurately and that nothing you say inadvertently undercuts a legitimate claim. That insurance claim support is often what separates a smooth approval from a drawn-out dispute.
It also helps to document the emergency steps you took, because most policies expect you to mitigate further damage and will look favorably on evidence that you did. Shutting off the water at the main, moving valuables out of the affected area, and calling for professional help are all reasonable actions, and noting when you took them shows you responded responsibly. Keep the receipts for anything you had to buy in the process, too, as some of those costs may be recoverable depending on your coverage.
There is a strong instinct after water damage to rip out the ruined carpet, bag up the soaked drywall, and haul everything to the curb. Resist it, at least until the damage is documented and, ideally, until your restoration company has assessed the loss. Materials that are thrown out before they are recorded are materials your adjuster will never pay for, because from their perspective, the damage was never proven.
Whenever it is safe to do so, preserve representative samples of the damaged materials. A section of stained drywall, a piece of warped flooring, or the failed component that caused the loss can all serve as physical evidence that supports the claim. Your restoration crew will document these as part of the scope of work, cataloging what was affected and why it needed to be removed. This is standard practice on a properly run job and it protects your settlement.
The same logic applies to the cause of the loss. If a water heater failed, a supply line burst, or an appliance leaked, that item is key evidence. Don’t discard it. Photograph it, note its details, and let it be part of the record. A documented cause is what establishes a sudden, accidental event, which is exactly what most policies are built to cover.
There is a reason this checklist is built around a 24-hour window rather than a leisurely week. Water damage doesn’t wait, and neither does the biology that follows it. Within the first hour, water spreads through flooring, baseboards, and wall cavities. Within 24 hours, drywall begins to swell and warp. And within 24 to 48 hours, mold can begin to grow in the damp materials left behind, which is when a straightforward water loss can turn into a far more complicated one.
This timeline is exactly why prompt documentation and prompt drying go together. The faster the moisture is mapped and the structure is dried, the less chance there is of secondary damage, and the cleaner your claim stays. If drying is delayed and mold takes hold, you are no longer dealing with a single water event; you are dealing with a water event plus a mold problem, and insurers scrutinize mold claims closely, often looking for any sign the damage was allowed to sit.
Documenting quickly protects you on both fronts. It captures the loss while it is still a clean, sudden water event, and it creates the timestamped record that proves you acted promptly rather than letting the problem linger. That record of fast action is one of the quiet advantages of calling a restoration company early: the timeline itself becomes evidence in your favor.
All the documentation in the world does you little good if it is scattered across a camera roll, a few text messages, and a stack of paper receipts. A simple, organized digital folder turns a pile of evidence into a claim file an adjuster can act on, and it is invaluable if a claim is ever questioned or denied and you need to appeal.
The structure doesn’t need to be complicated. Create a single folder for the loss, then organize everything inside it so nothing gets lost and everything is easy to find. If you’d rather have a crew build and maintain this file for you, you can contact our team to get started. A clear, chronological, well-labeled file is quietly one of the most persuasive things you can put in front of an insurance company.
Keep this folder backed up and accessible. If your claim goes smoothly, you may never need most of it. But if a dispute arises, this organized record is the difference between negotiating from a position of strength and scrambling to reconstruct events after the fact.
📞 Water damage in Orange County? Call Water Gone Restoration at (949) 406-0287 for 24/7 emergency response and insurance-ready documentation from the very first hour.
Before any cleanup begins, photograph and video every affected area exactly as you found it. Take wide shots to establish the full scope of each room, then close-ups of specific damage and the source of the water. These pre-mitigation images are the foundation of your insurance claim, because an adjuster can only pay for damage they can see, and much of the evidence disappears the moment extraction and demolition start. Capturing it in the first hour protects your claim.
Because water hides. It travels behind walls, under floors, and into cavities the eye can’t see, and that hidden moisture is what causes secondary damage and mold. Moisture meters and thermal imaging map the true extent of the loss, and timestamped daily readings prove the structure is being dried properly. This turns the scope of your claim from a matter of opinion into measured, defensible data that an adjuster can rely on.
Stick to the facts of what happened, when you found it, and what you did to stop further damage. Avoid speculating about the cause or how long a problem may have been occurring, because phrasing that suggests a slow or long-standing leak can trigger a gradual-leak exclusion and reduce or deny your claim. If you don’t know how long something was happening, say so plainly rather than guessing. Many homeowners call their restoration company first so the loss is documented and framed accurately before speaking with the insurer.
Not until the damage is documented and ideally assessed by your restoration company. Materials thrown out before they are recorded are materials your adjuster won’t pay for, because the damage was never proven. Preserve representative samples of ruined materials and, crucially, the item that caused the loss, such as a failed water heater or burst supply line. A documented cause helps establish the sudden, accidental event that most policies are built to cover.
Create one digital folder for the loss and keep everything in it: pre-mitigation and progress photos and video (ideally in dated subfolders), moisture and drying logs, correspondence with your insurer and claim number, the itemized scope and estimates, and receipts for related expenses. Keep it backed up and accessible. A clear, chronological, well-labeled file lets an adjuster act quickly and gives you a strong position if the claim is ever questioned or denied.
We answer 24/7. Give us your number and a short description of the damage, and an IICRC-certified technician will call you back to schedule a moisture assessment. If it is an emergency, calling is still the fastest route.
.png)
